

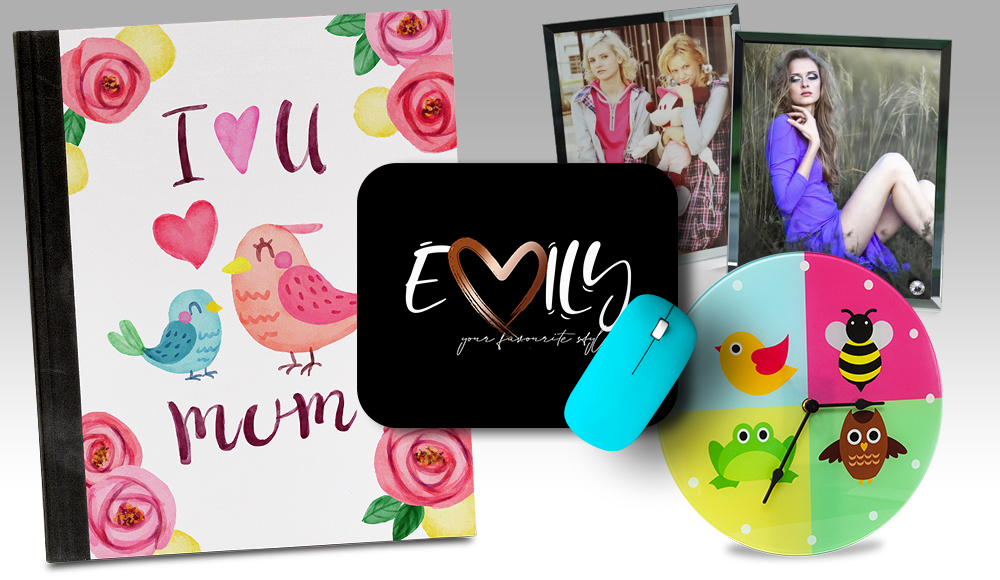


Tshirt Printing
HOW TO APPLY HTV TRANSFERS TO YOUR OWN GARMENTS AT HOME.

Purchasing transfers you can permanently adhere to your tshirts and hoodies can be a confusing decision. You ask yourself so many questions; “Will this wash off straight away?”; “How do I make sure it adheres correctly?”; “Will I burn my tshirt using red hot temperatures?”; “What equipment do I need to make this possible?”
This post on DIY applying HTV vinyls to your garments is aimed at answering all those questions for you, so that you have full clarity on what to expect, how it works, what you’ll need, and how to get it right first time.

There are many different styles of garment transfers out there, that you can apply to your own tshirts or hoodies – to either spruce up the old ones, or to create something from an idea you had – from supermarket inkjet transfer papers to sublimation prints and eco-solvent vinyls, but how exactly do these transfers work, and what do you need to make them look like you’ve just purchased them from the high street?
Well, over the years, I have worked with many of these options, both from the budget end right through to the better quality transfers, and in general you really do get what you pay for.
Transferring eco-solvent and block vinyl transfers.
What you will need:
- Scissors.
- Heat tape (keep reading for a cheaper alternative)
- Greaseproof paper.
- Household iron.
- Hard surface (an ironing board will work)
The postman has delivered your transfer(s). You have your tshirt ready. But how do you do it?
STEP 1
Prepare your surface.
You need to find a clean, hard surface. Whether this be your kitchen worktop, your dining table, or preferably an ironing board. Whichever you choose, make sure your chosen surface is enough to rest the whole transfer onto without any of it hanging over the edges of the surface.
If you’re using a solid worktop, then lay down a bath towel before putting your tshirt onto it – this has two benefits; The first benefit is that it adds a little bit of flexible padding underneath, covering any slight imperfections which can leave irremovable marks on your transfer. The second benefit is that it reduces the risk of condensation forming under the tshirt.
STEP 2
You need your heat source.
This step is pretty self-explanatory. Plug in your iron and turn the heat dial onto the maximum heat setting. The bonus of modern irons is that they are equipped with ceramic heat platens, which are perfect for pressing heat transfers (most commercial heat presses are equipped with similar heat platens, just on a larger scale). DO NOT USE THE STEAM FUNCTION!
STEP 3
Get the tshirt ready.
Find where you need to place the transfer on the tshirt, and make sure the desired area is laid as flat as possible on the surface (on top of the towel if you’re using a hard surface, or on the ironing board as normal). If needed, give that part of the tshirt a quick once over with the iron to remove any creases.
STEP 4
Laying the transfer.
Place your transfer onto the area you want it on the garment.
Whether your eco-solvent or block vinyl transfer has a sticky or non-sticky carrier sheet, I highly recommend you still pin it in place with some heat tape – one piece in each corner is generally fine. Although heat tape is normally something that is primarily used by us printers (therefore purchased from our suppliers) it can be purchased from online outlets such as eBay and Amazon. If you do not want to purchase heat tape, then a handy workaround is to use standard masking tape. I have used masking tape in my heat press when I have ‘misplaced’ my heat tape (yes, I possess a few rolls and it still happens) and it’s never left any sort of mark or stain on the tshirt.
STEP 5
Greaseproof paper.
Cut yourself a big enough piece of standard greaseproof/parchment paper (not the stuff that is foil-backed) that will be enough to cover as much of the tshirt as possible – generally a big square is enough. Lay the sheet over the transfer.
STEP 6
Time to press.
Assuming your iron is now fully heated up on the highest setting, gently press your iron on top of the greaseproof sheet and transfer, starting from somewhere near the middle. Use a medium-hard pressure. Start to ‘rub’ the transfer for a second or two with the iron, then start to go in circular motions, keeping the same medium-hard pressure; not too slow, but don’t go too fast, either Give special attention to the corners of the transfer.
The process should take around 15 seconds, making sure all areas have been covered for a fair amount of that time.
Next, remove the greaseproof paper, then slowly start to remove the clear carrier sheet* (details below) from the transfer, starting from one corner. If this starts to peel the transfer, do the whole process again, adding a little more pressure to the circular motion, and add 5 seconds to the pressing time.
- Eco-solvent prints – wait until it has cooled before peeling the carrier sheet away.
- Block vinyls – peel away the carrier sheet when it’s as hot as possible, for best results.
Once the carrier sheet has been successfully been peeled away from the transfer, you should be left with a lovely smile of achievement on your face, and a transfer that vastly improves your tshirt – then all you need to do is put the greaseproof paper over the exposed transfer, and give a final 5 seconds press with the iron. This will help finalise the adhesion and bond to the tshirt fibres.


That’s really all there is to it. These are the basics of how you can use HTV to print onto your own tshirts.
WILL THESE COME OFF IN THE WASH?
This is a questions that has no definitive answer, but the positive answer to this question is “No, they shouldn’t do”! When we print tshirts, we use a commercial heat press, which offers a far larger and consistent ‘pressure per inch’ ratio than what a household iron can do, offering a better adhesion between the transfer glues and the cotton/polyester fibres, but the mechanics and science of how these are applied is essentially the same.
As long as you give yourself enough time and space (i.e. no clutter around you, etc) to do this with an iron, then you really shouldn’t have any issues with washability. Our vinyls are some of the highest quality available, so we hope you can purchase with confidence that these will not give you a headache after one or two washes.
CAN I PRESS SUBLIMATION TRANSFERS WITH A HOUSEHOLD IRON?
Sublimation transfers are best pressed with a commercial heat press. As mentioned above, these heat presses offer a better spread of heat and pressure, giving sublimation prints (especially the larger prints) the coverage they need to transfer the inks onto the product surfaces, accordingly.
Technically, a household iron will potentially do what is needed, however I would not recommend doing it this way as it really can/will be hit and miss. Sublimation prints are on paper with specialised inks that need a constant supply of heat to release the gas/chemicals which transfers the design to the surface, therefore there is no carrier sheet to peel pack to check if it has worked – so if you peel back a sublimation design and it’s not worked, that product is now potentially ruined, as it will still have likely left a faded print on the surface, but it will be virtually impossible to line the design up again.
As sublimation is a specialised printing process, from the inks to the paper, these cannot be printed on to cotton garments. Sublimation is primarily for polyester-based products, and heat-proof products that have had a special sublimation coating on them.
I would love to hear your comments, views and questions below.